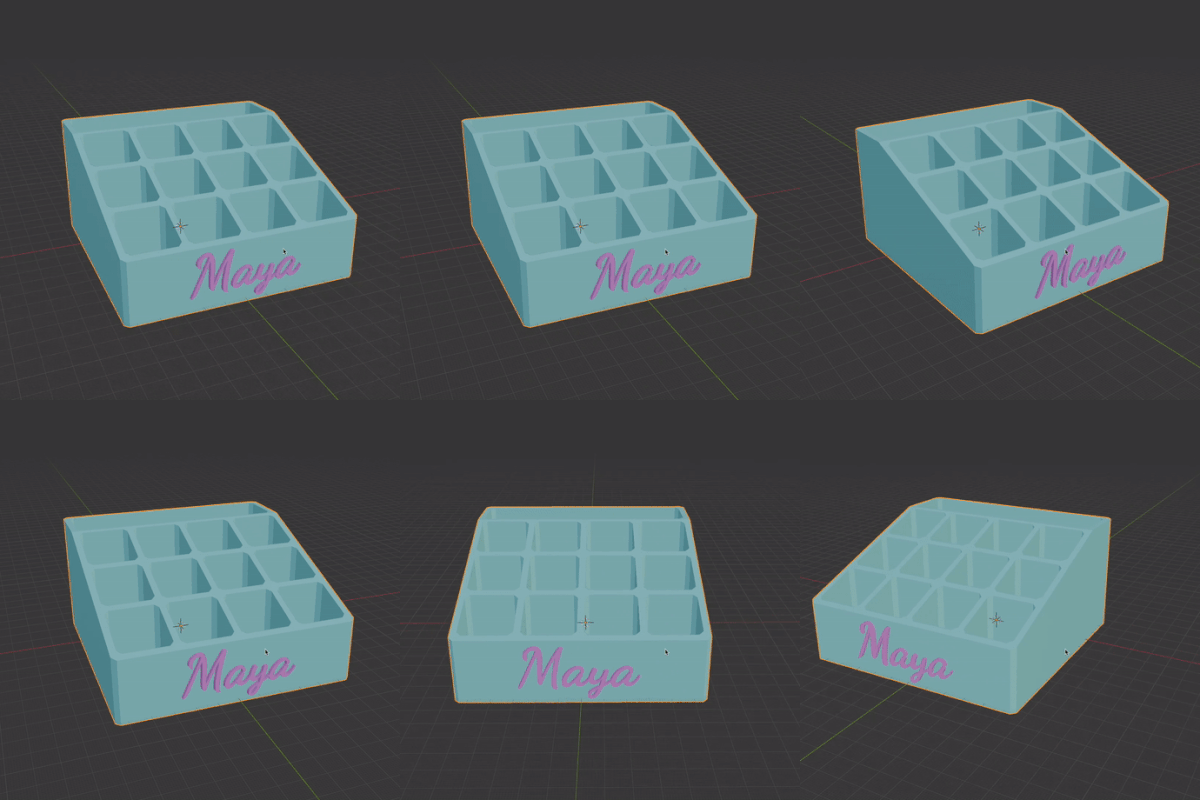
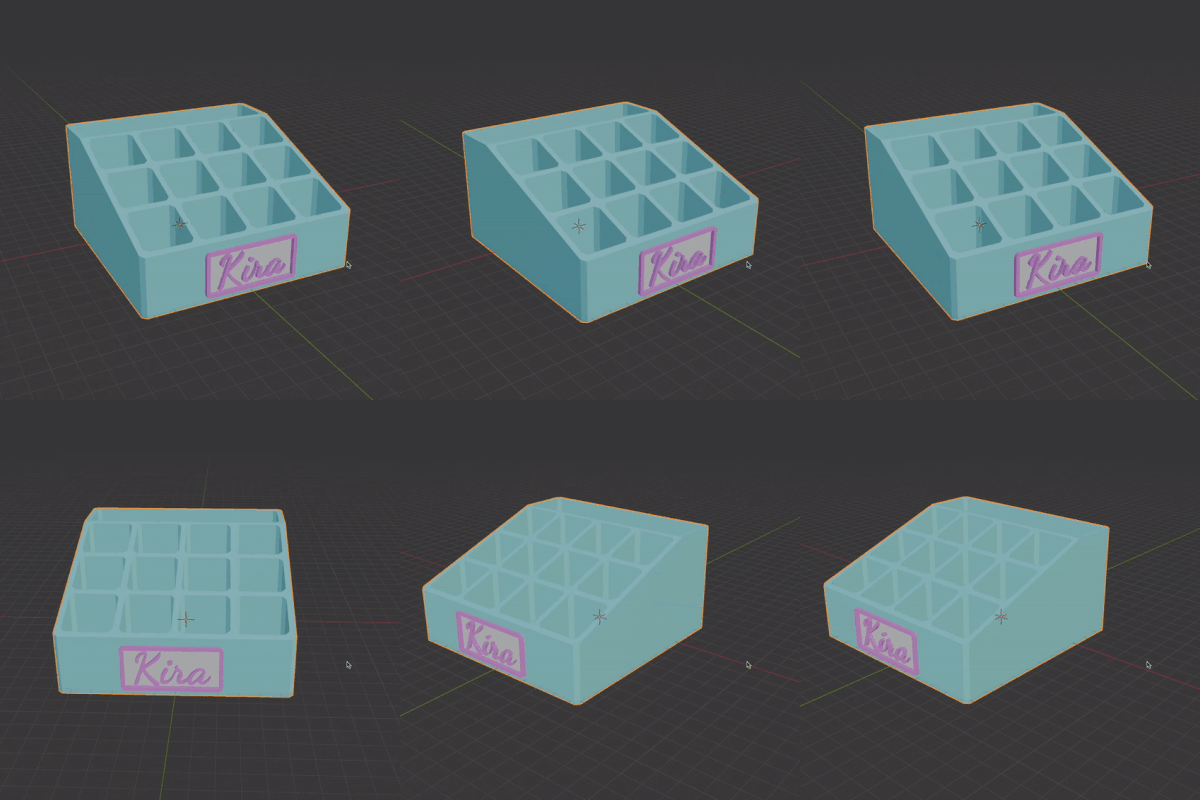
The simplest way to create a customized gift is by downloading any file you like, such as a phone stand, organizer, or other items, and adding custom text to it. In this tutorial, I’ll demonstrate how I customized makeup organizer boxes (which my kids use for crayons) for my daughters.
Yes, you could simply print the box as is and glue a name onto it, but I prefer to add a bit more love to the gift.
Now, why don’t I just add text directly to the file and print it using the printer’s multi-color capability? That is possible, but it significantly increases print time. For every layer of the name, the printer would have to switch filament colors repeatedly, resulting in a large amount of wasted (purged) filament.
To save time and filament, I prefer printing two parts separately and assembling them. This also improves the quality of the text since it prints flat, rather than vertically layer by layer.
Below are the two methods I use depending on the goal. My personal favorite is the nameplate method. It’s simpler and produces higher-quality results.
Here’s the link to the Makeup Organizer file I downloaded from Thingiverse.


In the video tutorial I encounter several common issues, and troubleshoot them.
Watch the video first, this is a summary of the steps as a reminder for the text and indents process:
- Get the text you need. I use Google Fonts website. Pick the font with lines thick enough for the printer to recognize. Get the screenshot of the text and import it into Blender. This method creates a better mesh for the text vs. actually creating text in Blender.
- Import downloaded STL file.
- Resize and position text where you would want it to be on the model. (I did not do it in this sequence in the video and had to readjust later)
- Right Click > Trace Image to Grease Pencil
- Go to Object > Apply > Visual Geometry to Mesh
- Press E to Extrude mesh by thickness you need. I did 3mm for Method 1 and 2mm for Method 2.
- Shift+D to duplicate Text. You need to create a cutter that is slightly larger to make cutout in the model. (0.15 or 0.2mm)
- This is the trickiest part:
- Click / to isolate the cutter mesh. Make sure the Scale is Applied (if not, do Ctrl+A >> Apply Scale). If you don’t apply the scale and do the next step the proportions will be wrong.
- Tab to Edit, select Face selection method. In x-ray mode, go to view from the top and select faces in the middle.
- Click Alt+S to scale along normals, Click 0.2mm and press enter. The cutter will be 0.15 to 0.2mm larger all around.
- Time to cut. Click on the box, for to Modifiers. Add Boolean Modifier. Select the cutter as a cutting object. Apply.
- In the Method 1 video I troubleshoot one of the common issues that arises when cutting. The quickest way yo solve it is to use the Remesh modifier.
- Check that the cut worked.
- Export STL of the Box and STL of the text separately.
- Slice. Large boxes like that I change settings to 15% infill, switch to only 2 walls, and increase thickness of the layer to 0.25mm.
