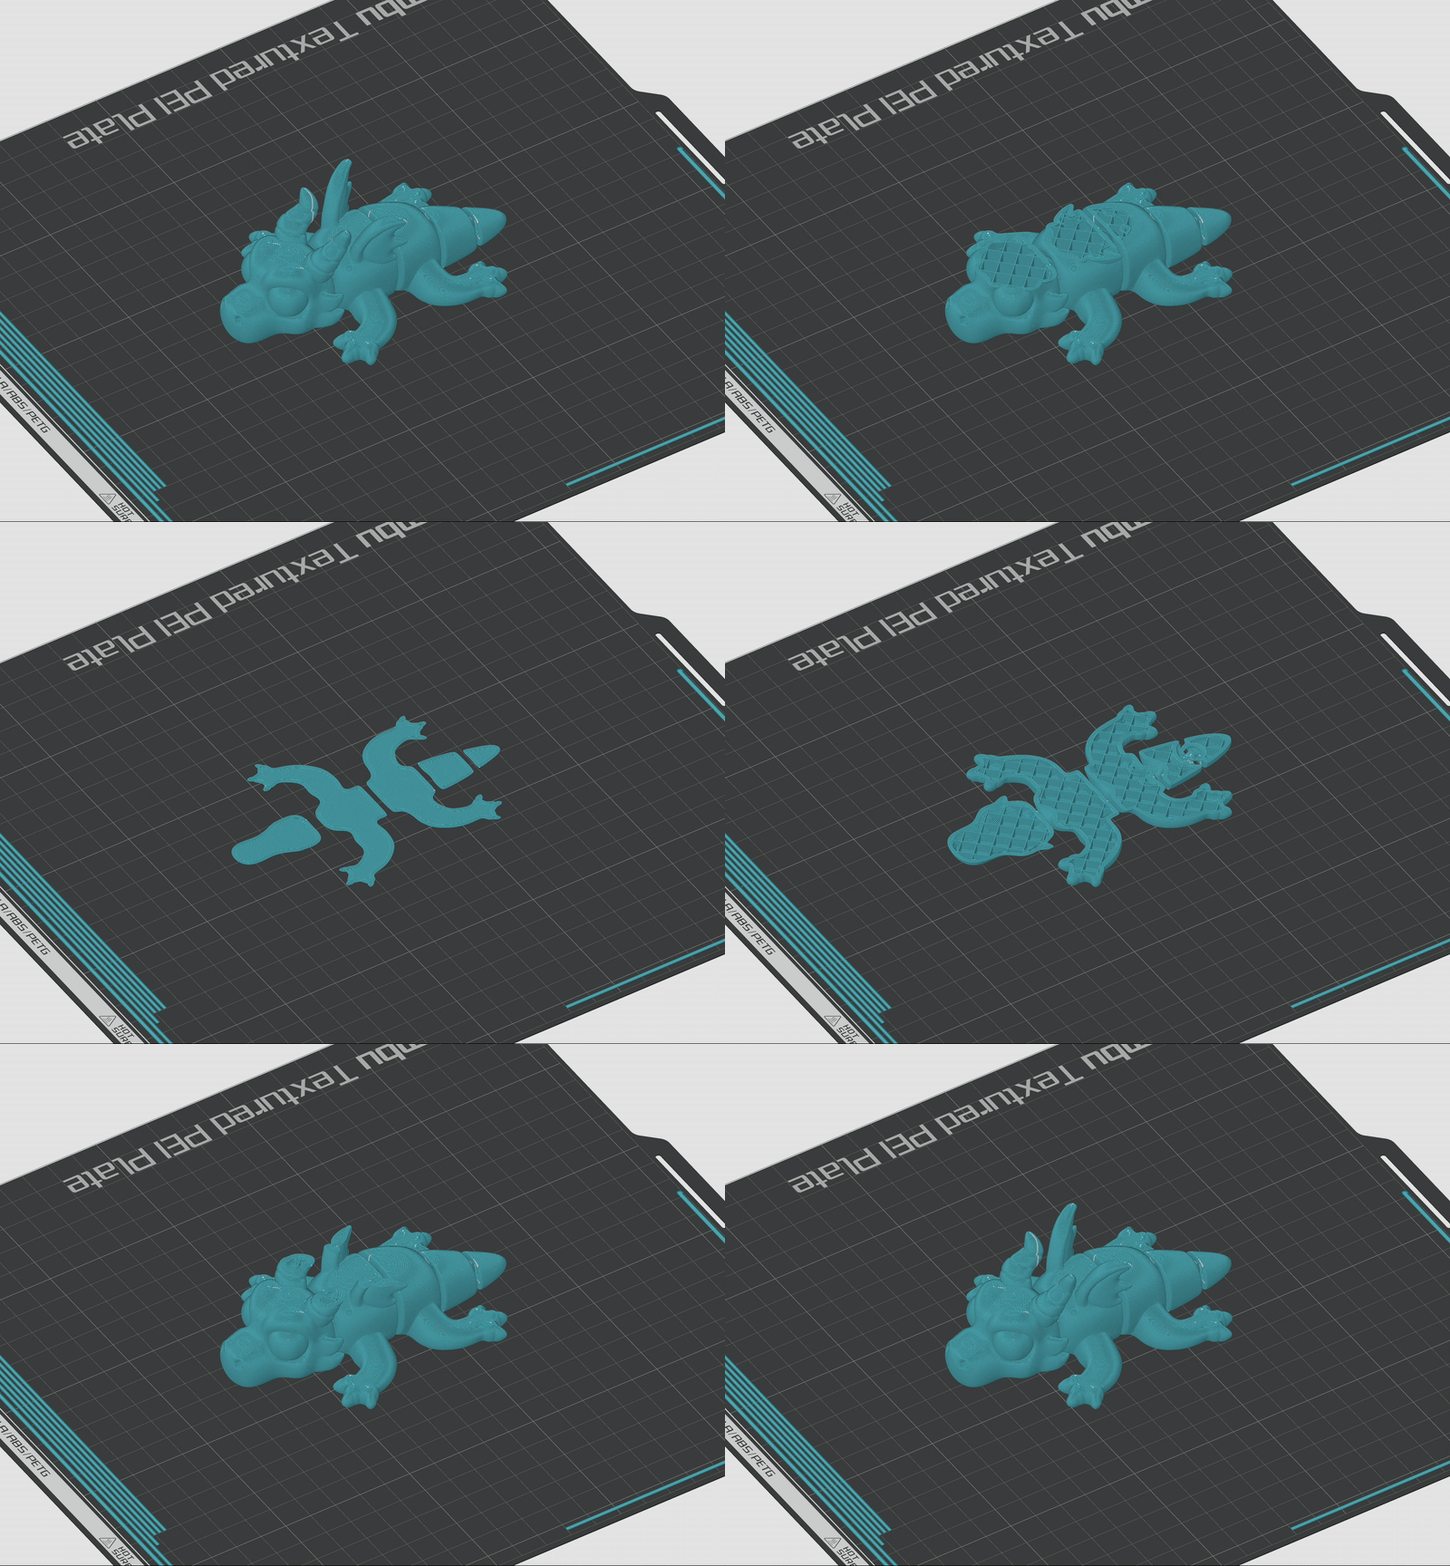
What is STL Slicing?
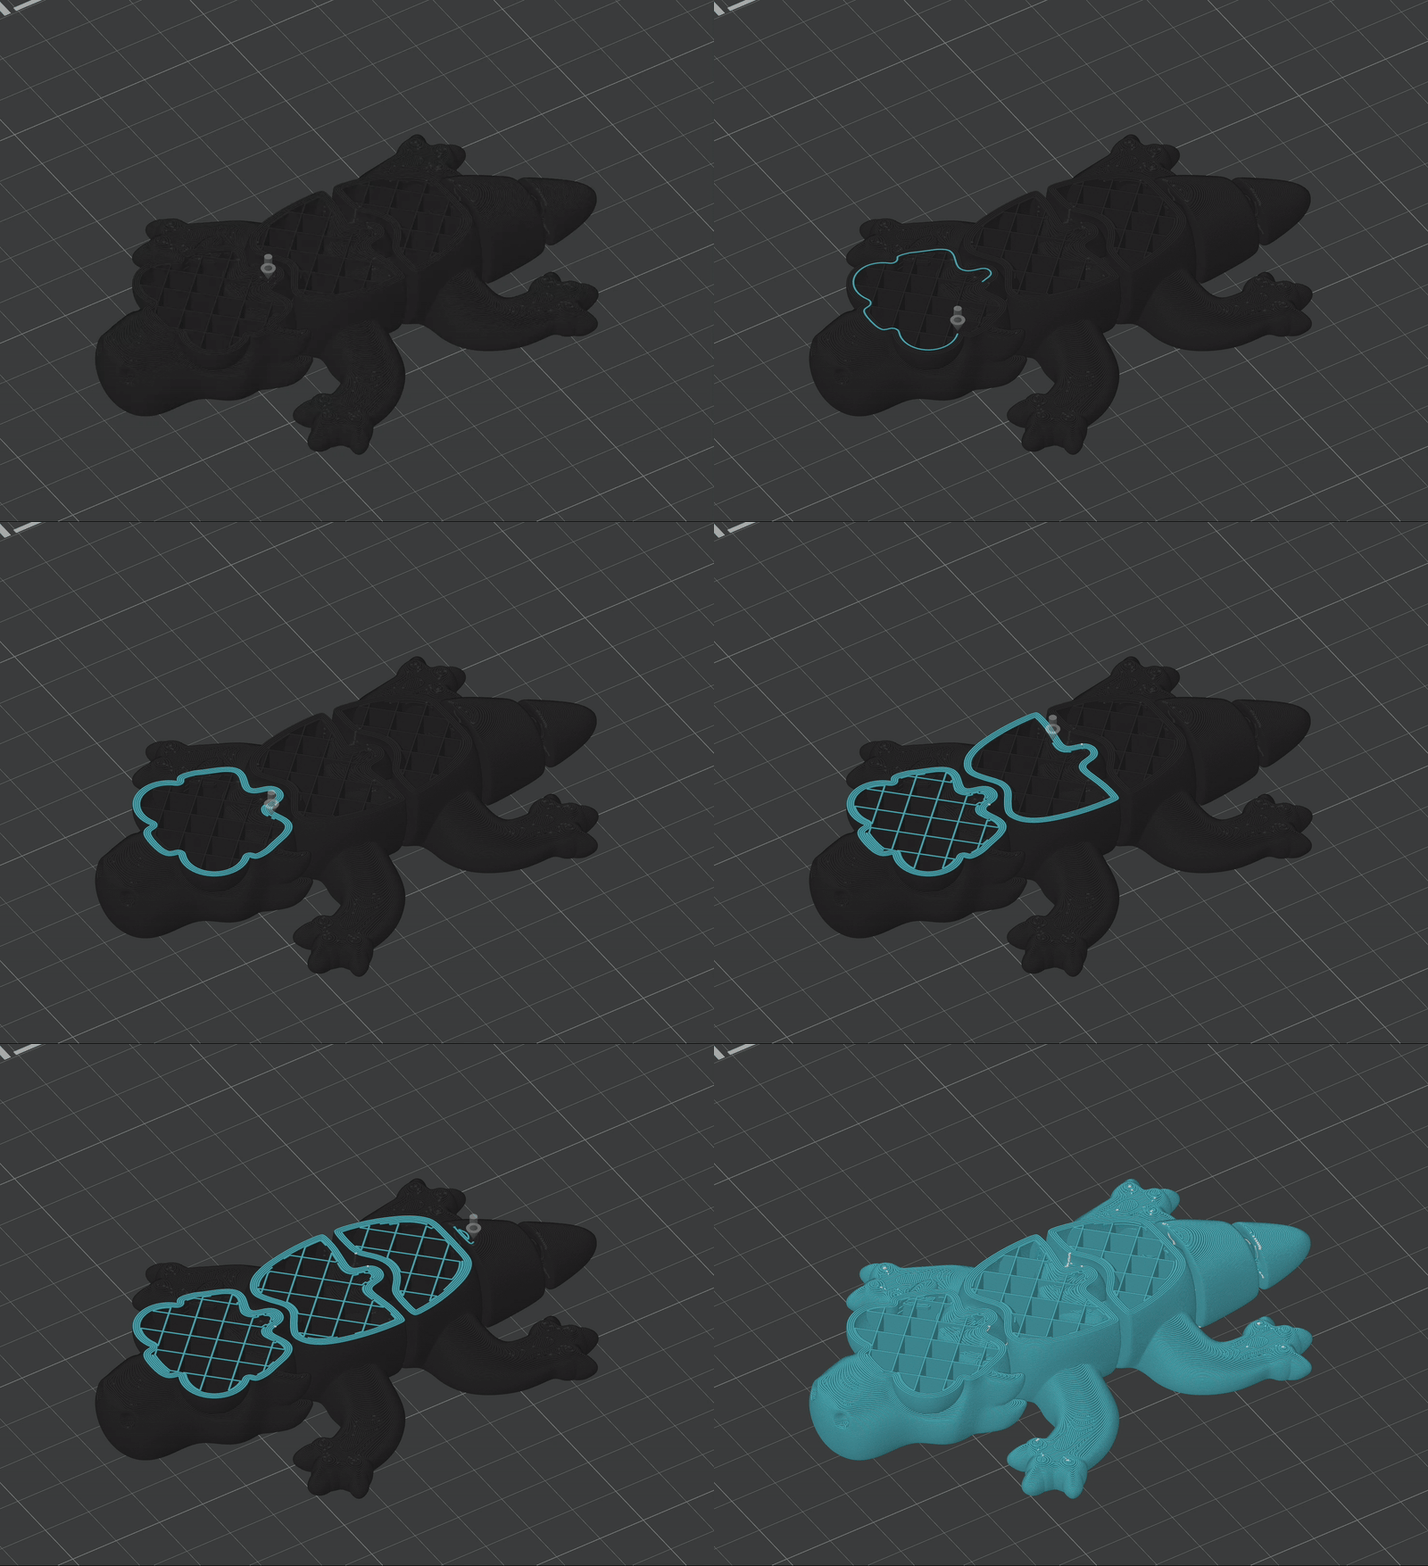
When you download a file of an object you want to print it will be in STL format. That file needs to be sliced layer by layer. Printers understand what to do, one layer at a time. So when you slice STL file it will create a new file “G-Code” – instructions for a printer to follow.
So to slice a file you need a slicing software. If you bought a printer already, it will come with the recommended one. Some people prefer to use softwares like Cura that can be set up for any printers, it works great and a good option especially if your printers are from several different companies.
I personally prefer to use a native software that comes with the printer of my choice. It is already preset with good settings and will pretty much work as is. It is also a good point to start from to learn what various settings do. At this point in my 3D printing journey I use BambuLab exclusively.

Step 1: Download a chosen model file in STL format
- Download a file from any website you like: Thingiverse, Printables, Cults3D, etc for more click here.
- OR Create your own using 3D modeling software like Tinkercad, Blender, Fusion 360….
Step 2: Open a Slicing Software
There are many slicing programs available, but I recommend starting with the one that comes with your printer, as all of the key settings are already preset.
- If you don’t have a printer yet and would like to try slicing a file, Ultimaker Cura is beginner-friendly and free.
Step 3: Open STL file and check the main settings
- Import the STL file into the slicer.
- Confirm the size – Ensure the model is positioned correctly and fits the print bed.
- Adjust print settings based on your needs. Most presets will already work well. Check the following:
- Layer height: Recommended setting is 0.2mm. This value is varied if your model has very fine details you can go as low as 0.1mm or if you want it to look like “Draft” or surface quality is not too important, you can go up to 0.3mm.
- Infill: Controls internal structure density. Low infill (~10%) saves material, while higher infill (~50%) makes it stronger. Typical setting 20% works for most prints.
- Supports: Needed if your model has overhangs (parts that stick out without support).
- Filament: Ensure correct filament type is selected (e.g., PLA). Some slicer have temperature settings preset for the filament type. If you have to set it, check on the filament roll for recommendation. Typically 200-220C for PLA.
- Infill/Wall overlap: This is one setting that I aways change to 30%. I find the preset is too low.
- If you are using Cura, here is a good article from All3DP that goes through a detailed explanation of Cura’s most setting.
Step 4: Slice to make G-code file
After configuring the settings:
- Click Slice, this will convert the STL into G-code.
- Do: preview each layer, check the estimated print time and material usage. If you see any issues, you can easily change settings and press slice again. Better do this now, rather that printing an object that has not been optimized.
- Save the G-code to an SD card, USB, or send it to a printer via Wi-Fi (depending on your printer).

Step 5: Start Printing
- Insert SD card, USB with your G-Code file into the printer, or send the file to the printer over the Wi-Fi
- Load the filament and ensure the printer is ready.
- Select the G-code file and begin printing!
Pick your next step:
