Before you dive into your first print, it’s important to set up your printer correctly, create a safe and organized workspace, and have the right tools on hand.
1. Setting Up Your 3D Printer
When unboxing your printer, follow the manufacturer’s instructions carefully. Most printers require some assembly, such as attaching the print head, removing safety screws (make sure to get them all), loading filament and performing first calibration.
- Load filament correctly – Insert the filament into the extruder and ensure it feeds smoothly through the nozzle.
- Calibrate the printer – Many printers come with built-in calibration tests to fine-tune movement and extrusion settings.
- Test print – run a small test print, typically preloaded into the printer’s internal memory.
2. Setting Up Your Print Space
A well-organized and safe printing environment will make your experience much more enjoyable. Consider the following:
- Stable surface – Place your printer on a solid, level table to prevent vibrations. When you are ready to go serious, check out the work tables from Uline.
- Ventilation – Printing, especially with materials like ABS, can release fumes. Do not setup your printer(s) in the bedroom where you sleep. Keep your space well-ventilated. If you only print with PLA, you don’t need to worry about the fumes.
- Temperature control – Avoid printing in cold or drafty areas like a garage, as temperature fluctuations can affect print quality.
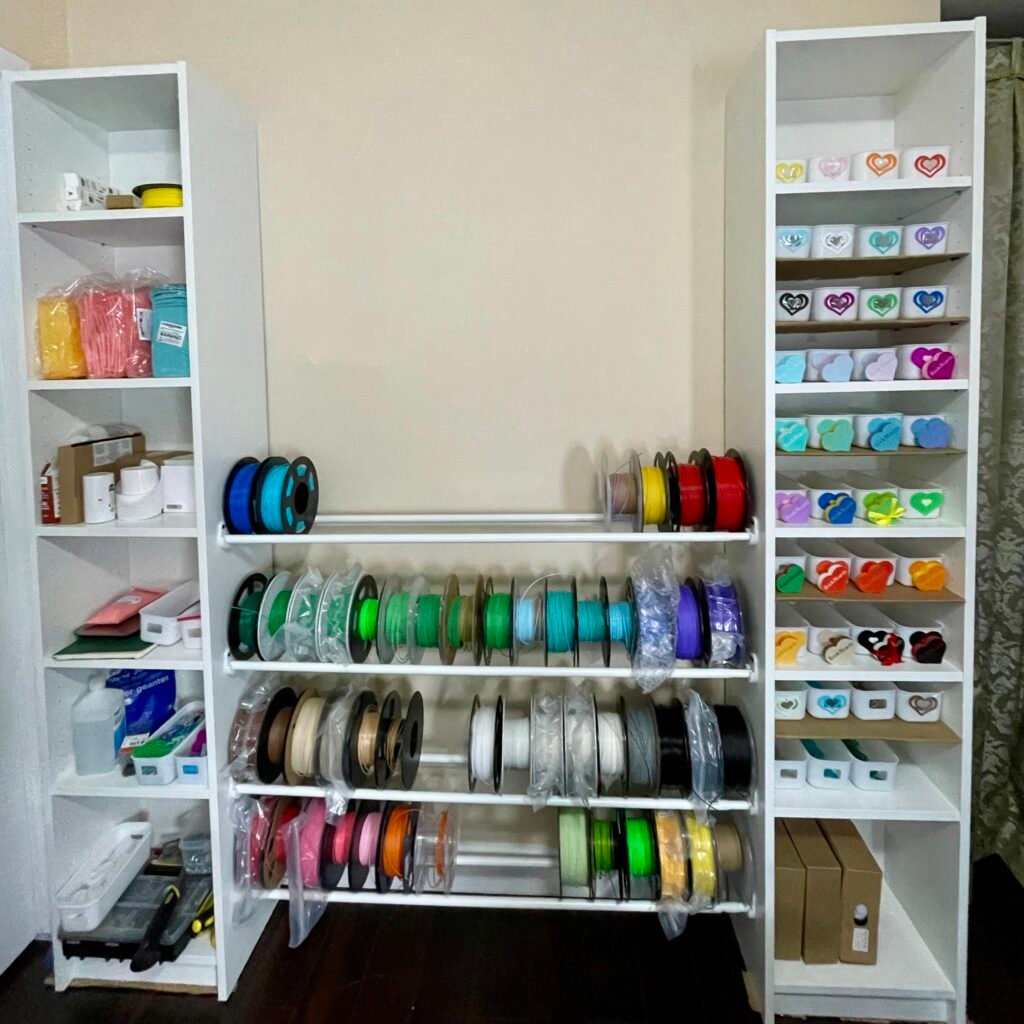
- Storage for filaments – Do your best to keep filaments dry and free from dust. Some people choose to store them in airtight containers with silica gel packs. I store mine in the basement on this storage area I made using Ikea shelves, rods and wall mount/rod holder I designed and printed.

3. Safety Tips
3D printing involves heat, moving parts, and sometimes harmful fumes. Follow these safety precautions:
- Avoid touching the hot end and heated bed – Both can reach temperatures over 200°C (392°F) and cause burns. Wait for a print to cool before removing it from the printer.
- Keep your workspace clean – Stray filament, tools, or dust can interfere with your printer’s operation.
- Supervise prints – While printers can run unattended, it’s best to check on them periodically to prevent failures or hazards. Some printers like Bambu Lab ones come with a built-in camera and an app, that allows you to check on your prints from anywhere and stop them if needed.
- Properly dispose of waste – Failed prints and filament scraps should be disposed of responsibly. Recycle.
4. Essential Tools for 3D Printing
Having the right tools can make troubleshooting and finishing your prints easier. Here’s what you’ll need:
- Spatula or scraper – Helps lift prints off the bed without damaging them. These usually come with the printer
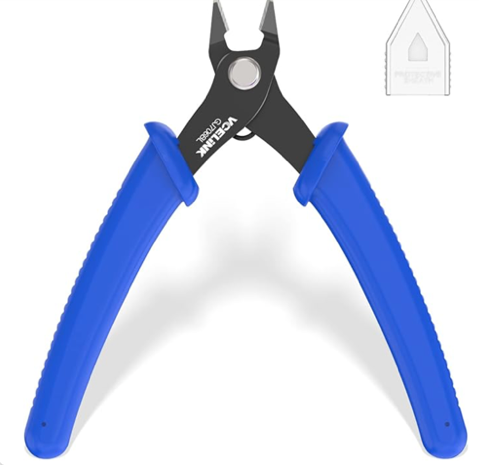
- Flush cutters – For cutting filament cleanly and removing supports from prints. Also, your first one should come with the printer. You may need a replacement at some point.
- Glue stick or painter’s tape or hairspray – Improves bed adhesion for materials prone to warping.
- USB os SD Card(s) – for moving your print files to a printer. Some printers will come with their own. I like to have many on hand, splitting them up between projects.
- Isopropyl alcohol and microfiber cloth – Cleans the print bed for better adhesion.
- Desiccant – to dry your filament, I load a bunch into a Bambu AMS, and always keep the ones that come with each filament.
- OPTIONAL Digital calipers – Helps measure prints accurately for adjustment.
Here are few things from my Amazon list that I’ve used:


Pick your next step: